Setting up a dedicated NxCloud VM
AWS EC2
- Login to your AWS Console and select the top image published here
- Launch a new instance from that AMI
- Recommended instance type:
t3.2xlarge - You will need to SSH into the instance once it's created:
- Use an existing SSH key-pair that you already have installed locally.
- Or create a new one and download the keys locally
- Then select your new SSH pair from the list
- Networking:
- Allow the instance to receive HTTP and HTTPS traffic
- Allow SSH from your current IP
- Leave the storage options as they are
- "Launch instance"
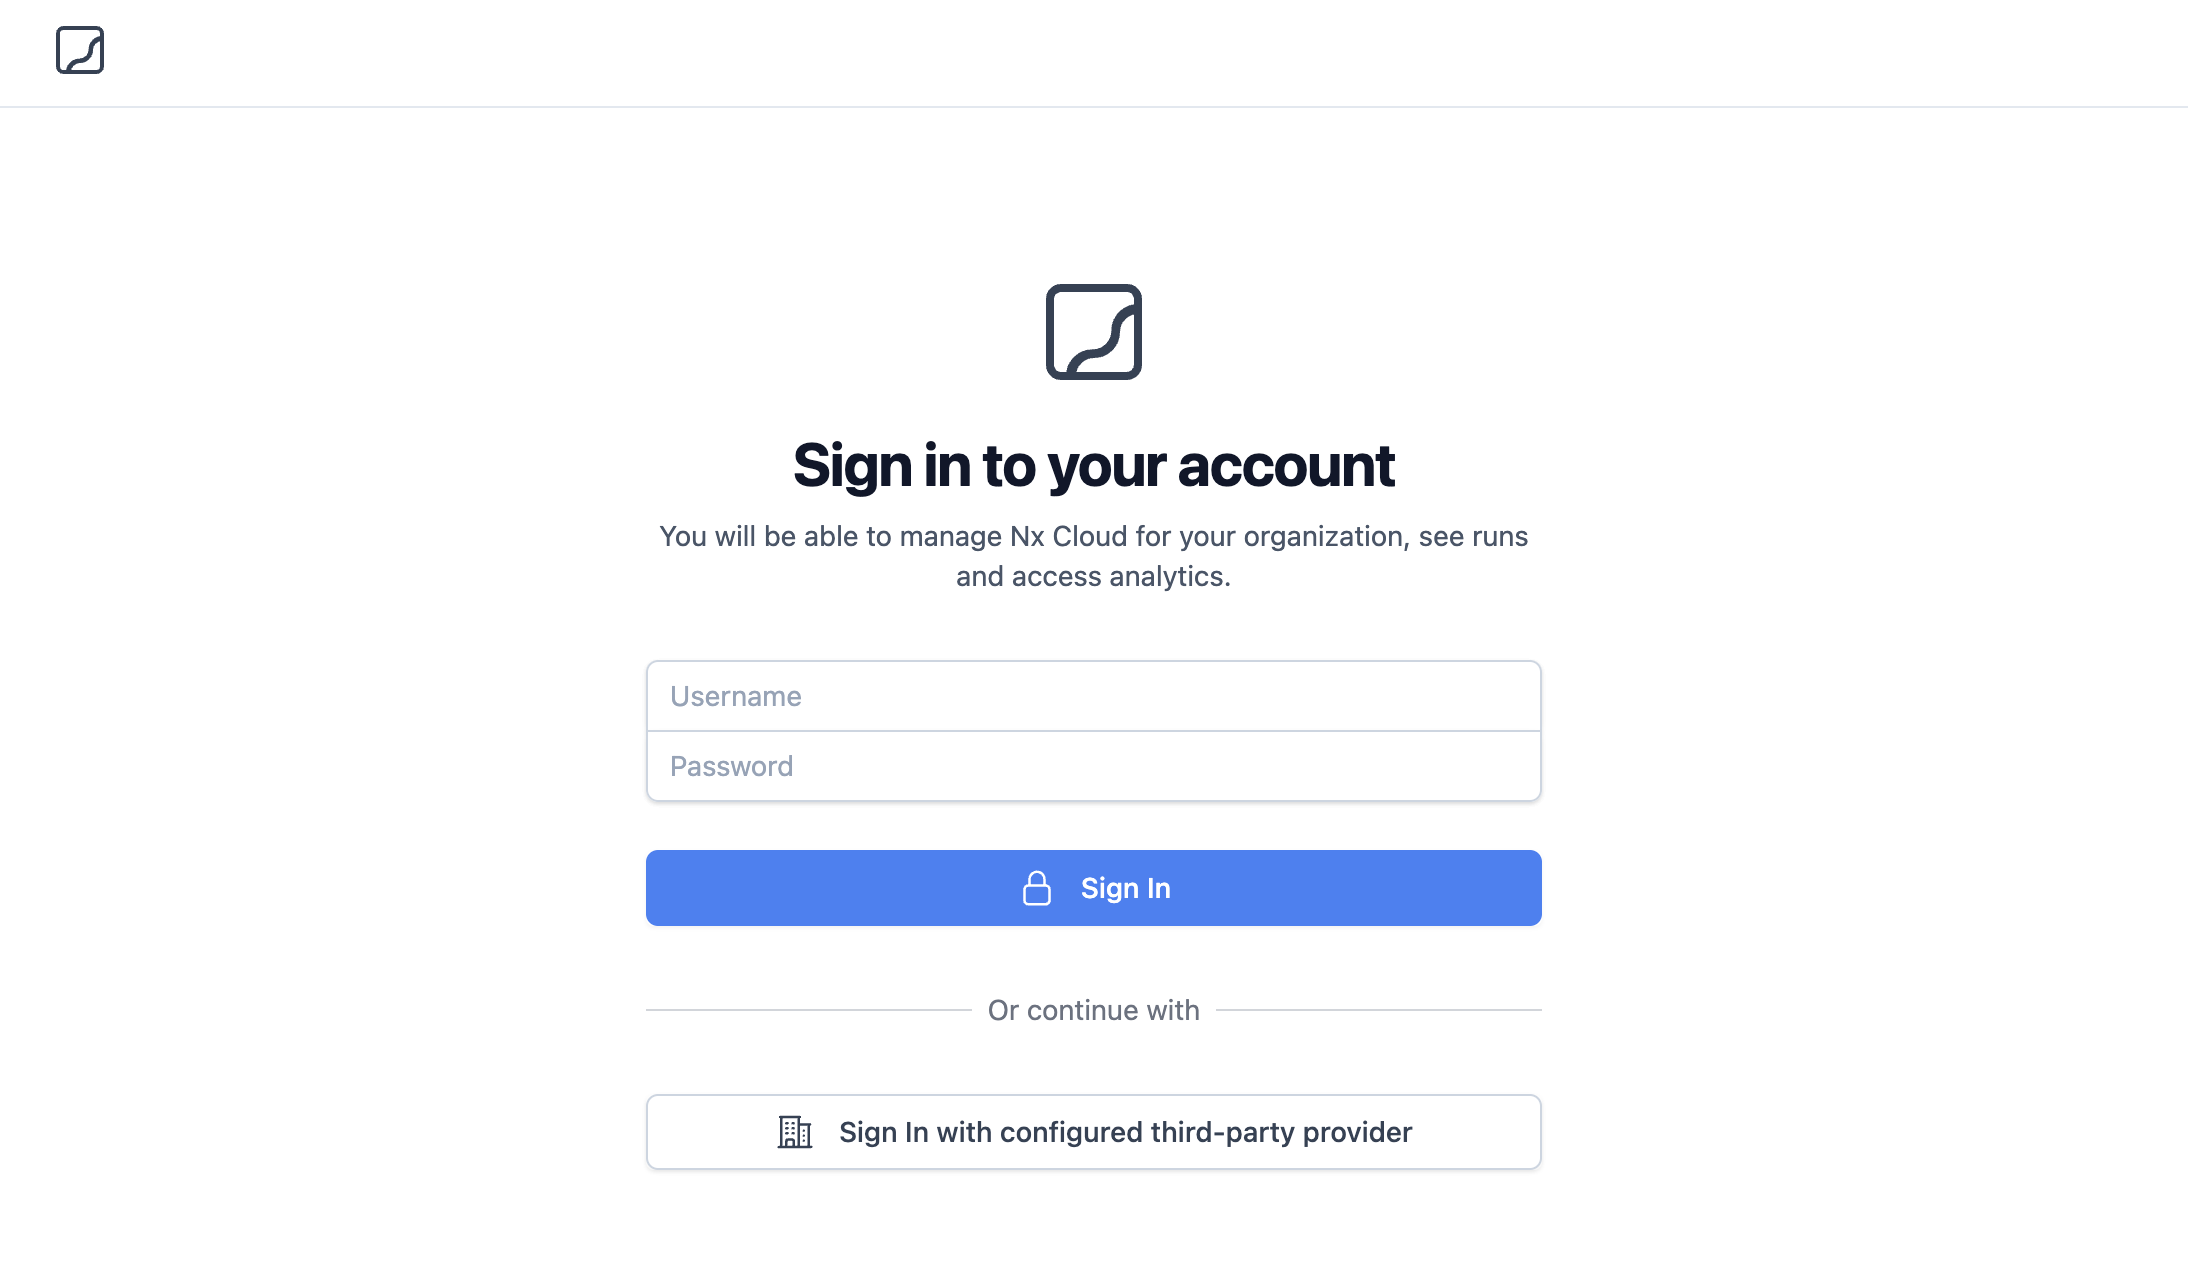
- Wait 10 minutes, then navigate to your instance's IP in the browser. You should see the NxCloud dashboard!

Your NxCloud URL
- At this point, your instance will have a public IP accessible from the browser.
- You can consider this IP the URL of NxCloud, and proceed with the below steps and all will work fine!
- You might want, however, to add a Load Balancer in front of the instance, with an explicit domain (e.g. https://my-nxcloud.my-org.com).
- This is strongly recommended because you will be able to upgrade/restart/re-configure your NxCloud EC2 instance while keeping the NxCloud URL static.
- Create an application load balancer
- You will need to create a certificate for your domain to assign to the LB
- And you will need to target your EC2 instance from the LB
- You should now have a permanent domain pointing to your NxCloud instance
Once you have your NxCloud URL proceed to the below steps!
Configuring your NxCloud instance
- Create a new
myconfiguration.yamlfile with the below contents
1# This is all you need to get the baseline of your nx-cloud instance configured!
2
3# Set the external URL your instance is running on. This is the URL from the previous step
4nxCloudAppURL: 'https://nx-cloud.on.my-domain.ca' # make sure no backslash is at the end
5
6secret:
7  # set your initial admin password for logging into the app
8  adminPassword: 'correcthorsebatterystaple'
9- Apply the configuration:
1scp -i ./<path-to-your-ssh-pem-file>.pem -r ./myconfiguration.yaml nx-cloud@<your-instance-ip>:~/config/user/update.yaml
2
That's it! After a few minutes, you should be able to log-in with:
- username:
admin - password:
<the-password-you-set-above>
Applying the license
Once you log-in, you will see an organisation has been created for you.
- You can rename it or create a new organization.
- Navigate to your new organization's page and send us it's id
- It should look something like this: https://your-url.com/orgs/649f240f7fb955000c1fd10b/workspaces
- We will then give you a License Key which you can apply on your org's billing page
Connecting to your NxCloud instance
In your Nx workspace, you can enable NxCloud by running:
1NX_CLOUD_API="https://nx-cloud.on.my-domain.ca" npx nx connect
2
If it doesn't work, there might be an issue with unrecognized certificates on your instance. You can try running with:
1NODE_TLS_REJECT_UNAUTHORIZED=0 NX_CLOUD_API="https://nx-cloud.on.my-domain.ca" npx nx connect
2
Although we have a full guide here for dealing with self-signed certificates.
Advanced configuration and auth
You can optionally enable authentication using your preferred SSO provider:
- GitHub
- Bitbucket
- GitLab
- SAML (Okta, Azure AD etc.)
1# This is all you need to get the baseline of your nx-cloud instance configured!
2
3# only use this if you'd like to use any of the newer NxCloud version from here: https://nx.dev/nx-cloud/reference/release-notes#docker-containers
4# global.imageTag: ''
5
6# Set the external URL your instance is running on
7nxCloudAppURL: 'https://nx-cloud.on.my-domain.ca' # make sure no backslash is at the end
8
9# Uncomment (along with github secrets below) to enable working with GitHub pull requests or github auth
10#github:
11#  auth:
12#    enabled: false
13#  pr:
14#    apiUrl: '' # this is only needed if you have a self-hosted github instance
15
16#gitlab:
17#  apiUrl: '' # this is only needed if you have a self-hosted gitlab instance
18#  auth:
19#    enabled: false
20
21# we do not support self-hosted bitbucket instances
22#bitbucket:
23#  auth:
24#    enabled: false
25
26#saml:
27#  auth:
28#    enabled: false
29
30# Provide plaintext values for your application to use. We will extract them,
31# store them within the application runtime, and scrub the plaintext ones from
32# the filesystem
33secret:
34  # set your initial admin password for logging into the app
35  # see here: https://nx.dev/nx-cloud/recipes/on-premise/auth-single-admin
36  adminPassword: 'correcthorsebatterystaple'
37
38  # If you want to enable GitHub Login, just provide your client id & secret, we handle the rest
39  # see here: https://nx.dev/nx-cloud/recipes/on-premise/auth-github
40  githubAuthClientId: 'my_client_id'
41  githubAuthClientSecret: 'my_client_secret'
42
43  # The same goes for GitLab authentication
44  # see here: https://nx.dev/nx-cloud/recipes/on-premise/auth-gitlab
45  # gitlabAppId: 'my_gitlab_app_id'
46  # gitlabAppSecret: 'my_gitlab_app_secret'
47
48  # Bitbucket too! If these are uncommented, BB auth is automatically enabled
49  # see here: https://nx.dev/nx-cloud/recipes/on-premise/auth-bitbucket
50  # bitbucketAppId: 'bitbucket_app_id'
51  # bitbucketAppSecret: 'bitbucket_app_secret'
52
53  # SAML auth
54  # see here: https://nx.dev/nx-cloud/recipes/on-premise/auth-saml
55  # samlEntryPoint: 'your_saml_entry_point'
56  # samlCert: 'saml_cert'
57
Upgrades
We send out emails with every new NxCloud release to all our Enterprise customers:
- You can view your current version at the
/versionroute: https://your-nx-cloud-url.com/version - And these are the latest NxCloud releases
To upgrade to a newer version, add the below line to your myconfiguration.yml file:
1global:
2  imageTag: '2306.01.2' # set the version of nx-cloud you'd like
3
And apply the changes:
1scp -r ./myconfiguration.yaml nx-cloud@<your-instance-ip>:~/config/user/update.yaml
2